Debugger Setup
This is a little guide to getting up and running with SJASMPlus and Dezog in it's 2 (useful for next dev) modes.
Content from:
https://amaninhistechnoshed.com/a-man-in-his-technoshed/coding
https://luckyredfish.com/coding-for-the-spectrum-next-emulator-cspect/
https://github.com/maziac/DeZog
As a starting point I'd like to encourage you to think about what you're trying to achieve with dezog and SJAsmPlus. This is a really powerful solution. There are a few caveats around it's use that people should be aware of though: This setup is (rightly or wrongly - I don't care what you prefer to use, that's your business :) ) windows-centric. I havent tried it on other platforms. If you'd like to contribute knowledge on the other platforms feel free!
If you are following a tutorial from 1985 intended for the 48k or 128k setup, then it's probably best to install the actual toolchain it was intended for and follow the tutorial from there. This will protect you from the many metaphorical Garden Rakes that you can stand on and smack yourself in the face. Different ROMs, different assembler syntax, OS state etc. Zeus assembler is on the nextOS SD card image. It's much closer to what these books were written with as their toolchain, so that could be a very good place to start.
For those of you looking for a general purpose environment for your own development read on...
For CSpect debugging please head further down the article
General tips at the end
I was having some trouble debugging CTC interrupts with CSpect, and so I needed to do some debugging on real hardware. In my head I thought this would be a difficult task, but Robin Verhagen-Guest (7fff) had posted a guide to creating a cable on discord, which he’s given me kind permission to paraphrase here, so here we go.
We need 3 things + a soldering iron to do this:
1. A USB -> RS232 adapter, use the 6 wire versions, labelled FTDI, https://www.amazon.co.uk/gp/product/B07JHNLLC3/ref=ppx_yo_dt_b_asin_title_o05_s00?ie=UTF8&psc=1
2. A DE9 Breakout adapter: https://www.amazon.co.uk/gp/product/B09LXWKTWH/ref=ppx_yo_dt_b_asin_title_o01_s00?ie=UTF8&psc=1 (when using this make sure to select the female – amazon has the wrong pictures on some of them!)
3. 1n5818 schottky diode – I bought a pack as I have a few unstarted electronics projects:
https://www.amazon.co.uk/gp/product/B08778SMJP/ref=ppx_yo_dt_b_asin_title_o04_s01?ie=UTF8&psc=1
Once you have the parts follow the following steps:
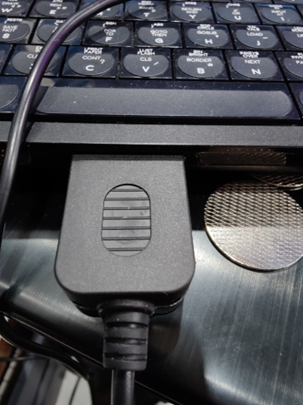
1. Get the rubber piece like this:
from the breakout adapter packet and thread it onto the wire of the RS232 adapter.
2. Solder a Schottky 1n5818 diode onto the orange wire (PC TX) with the printed band on it being the end that is joined to the wire.
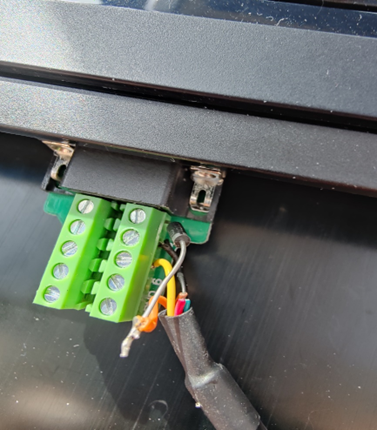
3. Open up the breakout connector and connect Yellow (PC RX) to pin 7, Black to pin 8,and the other end of the Schottky diode to pin 9. Cut off the unused wires to prevent shorts and reassemble the breakout adapter being careful to make sure that nothing can short out.
4. So now we need to plug the cable in and test that is working as expected.
This next part of the walk through assumes core 3.1.10+
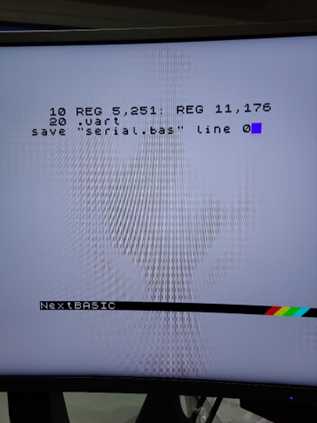
5. Go into next basic and do this:
– apparently the reg 5,251 is no longer required!
Save it and now you can obviously run it from the File browser on the front end which is useful in case you need to do it again.
Now install a program called termite from this page:https://www.compuphase.com/software_termite.htm
Mac Specific Configuration
It's a little trickier to get it working for the Mac. On the Mac you can use minicom. If you don't already have it installed, entering brew install minicom in a terminal will install it. Note that it can be tricky to exit the program. The "Meta Key" referred to on-screen is the ESC key. Holding down ESC and X, then pressing enter will allow you to quit. Holding down ESC and Z will display a help menu.
Additionally, the built in Apple drivers for the FTDI interface are not compatible with Dezog as they do not allow for the setting of a fast enough baud rate.
You can download the FTDI beta drivers from here: FTDI VCP Drivers. The following image shows the correct driver downloads. Ensure you get the correct architecture package for your Mac.
Follow the instructions carefully (being sure to run the package from your MacOS Applications directory), and then reboot. Once rebooted, with your cable plugged in to your Mac, you should be able to execute ls /dev/tty.u* from the terminal and something like the following will show up.
The red outlined port name is the one created by the FTDI driver. This is the one you should use (instead of the Windows-specific COMx) in the launch.json file. Be sure to include the full path, e.g. /dev/tty.usbserial2.
Windows/Mac Communication Test
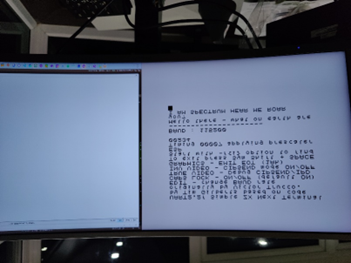
Set the respective Windows/Mac communication client to 115200 baud, 8n1, no handshake, and set 115200 baud on the speccy if it isn’t already then this should happen when you type messages on pc or speccy. If it doesn't – find me or another person who’s had it working on facebook discord or wherever else and ask for help. It’s almost certainly something silly,
So now you have a speccy and a PC that can communicate.
So now to the software side. There is a fantastic piece of software called dezog by Maziac, who has several bits of z80 targeted goodness for VSCode. So if you’re reading this hopefully you already have VSCode and SJASMPlus installed, probably along with CSpect. If not:
https://code.visualstudio.com/ will get you vscode, https://github.com/z00m128/sjasmplus/releases/ will get you SJASMPlus
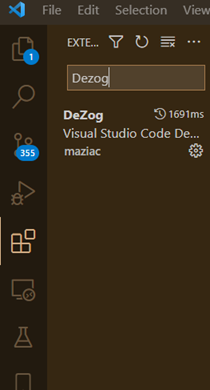
Search in the extensions tab in VSCode and you can find and install Dezog.
If anyone wants help getting a setup running beyond this check out patricia’s tutorial on luckyredfish.com as she shows how to get this working pretty well. You can always ask me too 😊
So, in VSCode I’ve edited my launch.json file to add a new config in addition to the cspect one that’s already there:
{
           "type": "dezog",
           "request": "launch",
           "name": "Z80 Debugger Serial ",
           "remoteType": "zxnext",
            "zxnext":
            {
                "serial": "COM3" // this will be something like "/dev/tty.usbserial-2" for MacOS
            },

           "rootFolder": "${workspaceFolder}",
           "sjasmplus": [
               {
                   "srcDirs": [
                       "Source/"
                   ],
                   "path": "Output/TestHarness.sld",
                   "mainFile": "Source/TestHarness.asm",
                   //"useFiles": true
               }
           ],
           "commandsAfterLaunch": [
               "-logpoint enable",
               "-assertion enable"
           ],

           "history": {
               "reverseDebugInstructionCount": 10000,
               "codeCoverageEnabled": true
           },

          "disassemblerArgs":
           {
               "esxdosRst": true
           },
           "load": "Output/TestHarness.nex",
           "startAutomatically": true
       }
|
I’ve also copied the new dezog version of the enNextMf.rom from here to machines/next on sd card
https://github.com/maziac/dezogif/blob/main/releases/enNextMf.rom
The documentation of dezog and sjasmplus on github are very informative. Worth a read if you want to know more.
Now we boot the next with the new file on the sd card. Everything should look normal until you hit the yellow button on the side. At this point you choose whichever joy port you’ve plugged your cable into. Mine was joy2 so number 2.
So now a video for the next section: if you look on https://amaninhistechnoshed.com/a-man-in-his-technoshed/coding there's a link to showing how the next and vscode/sjasm/dezog then work together.
CSpect Debugging
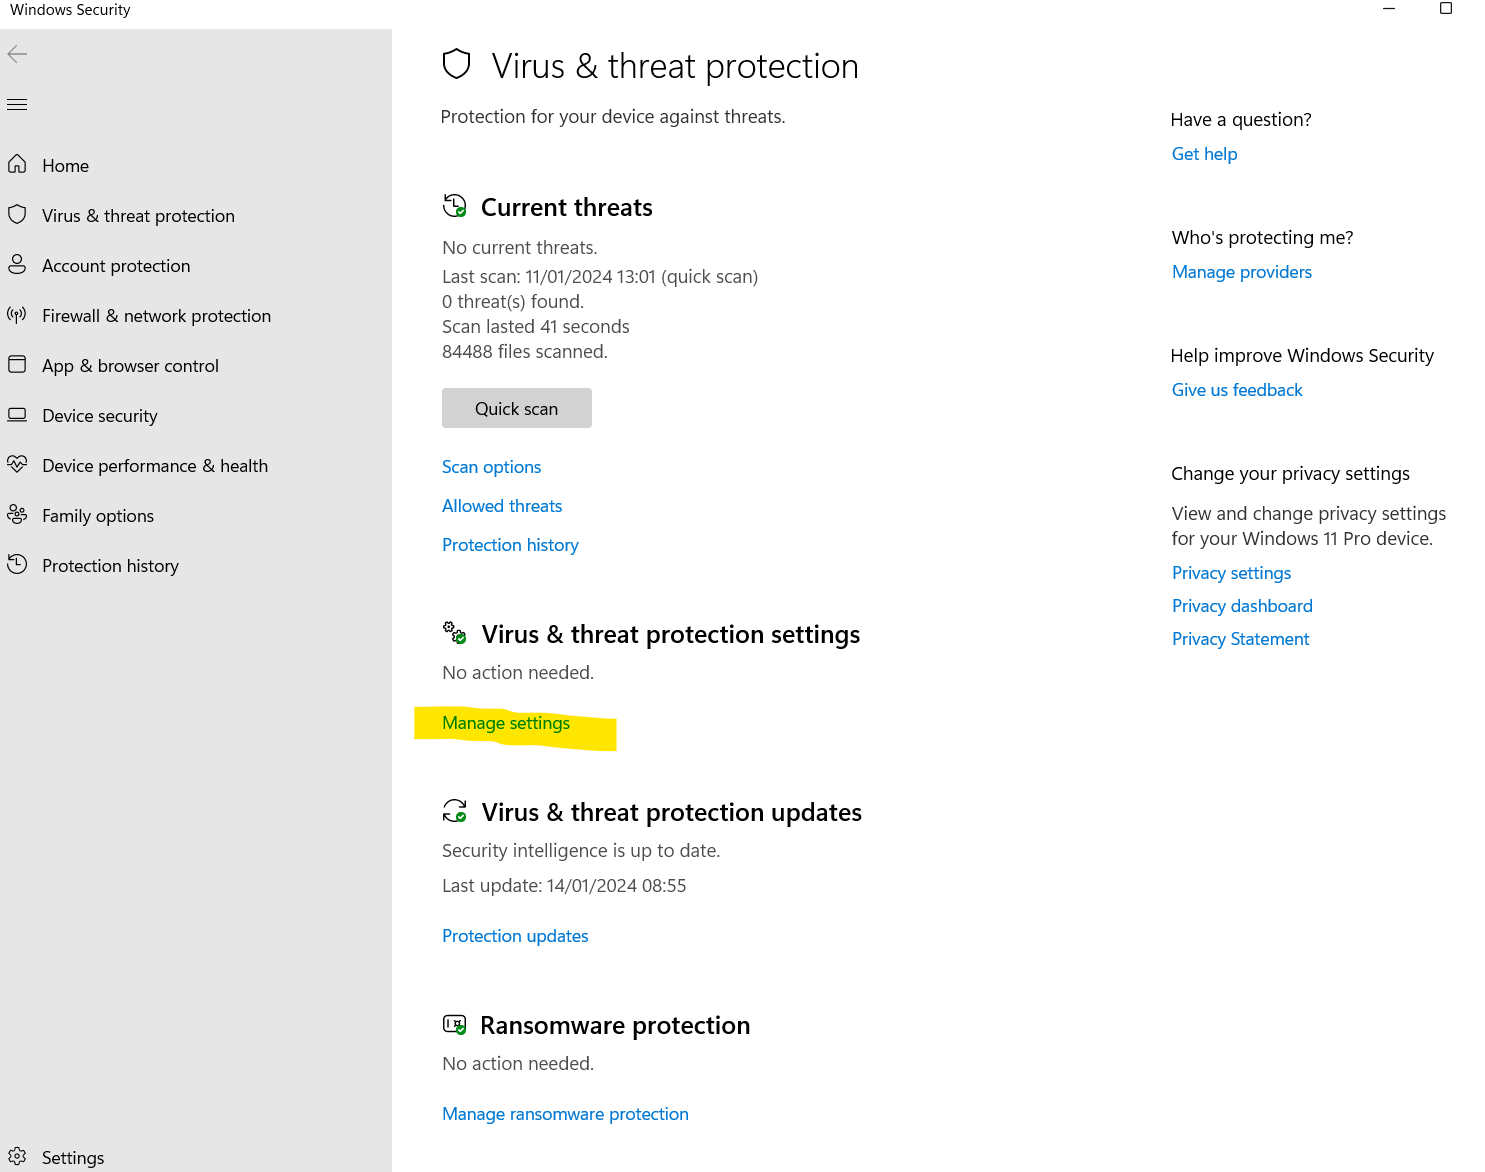
CSpect can be used to debug in a similar manner. To do this you need to install CSpect on your machine. Mine lives at c:\NextDev\CSpect2. While technically it's a question of just unzipping the CSpect zip from CSpect.org into this directory, there have historically been a few gotchas around Lazy AntiVirus software that detects CSpect as a virus - but you can rest assured it isnt! In Windows Virus And threat protection you can set an exclusion like this:
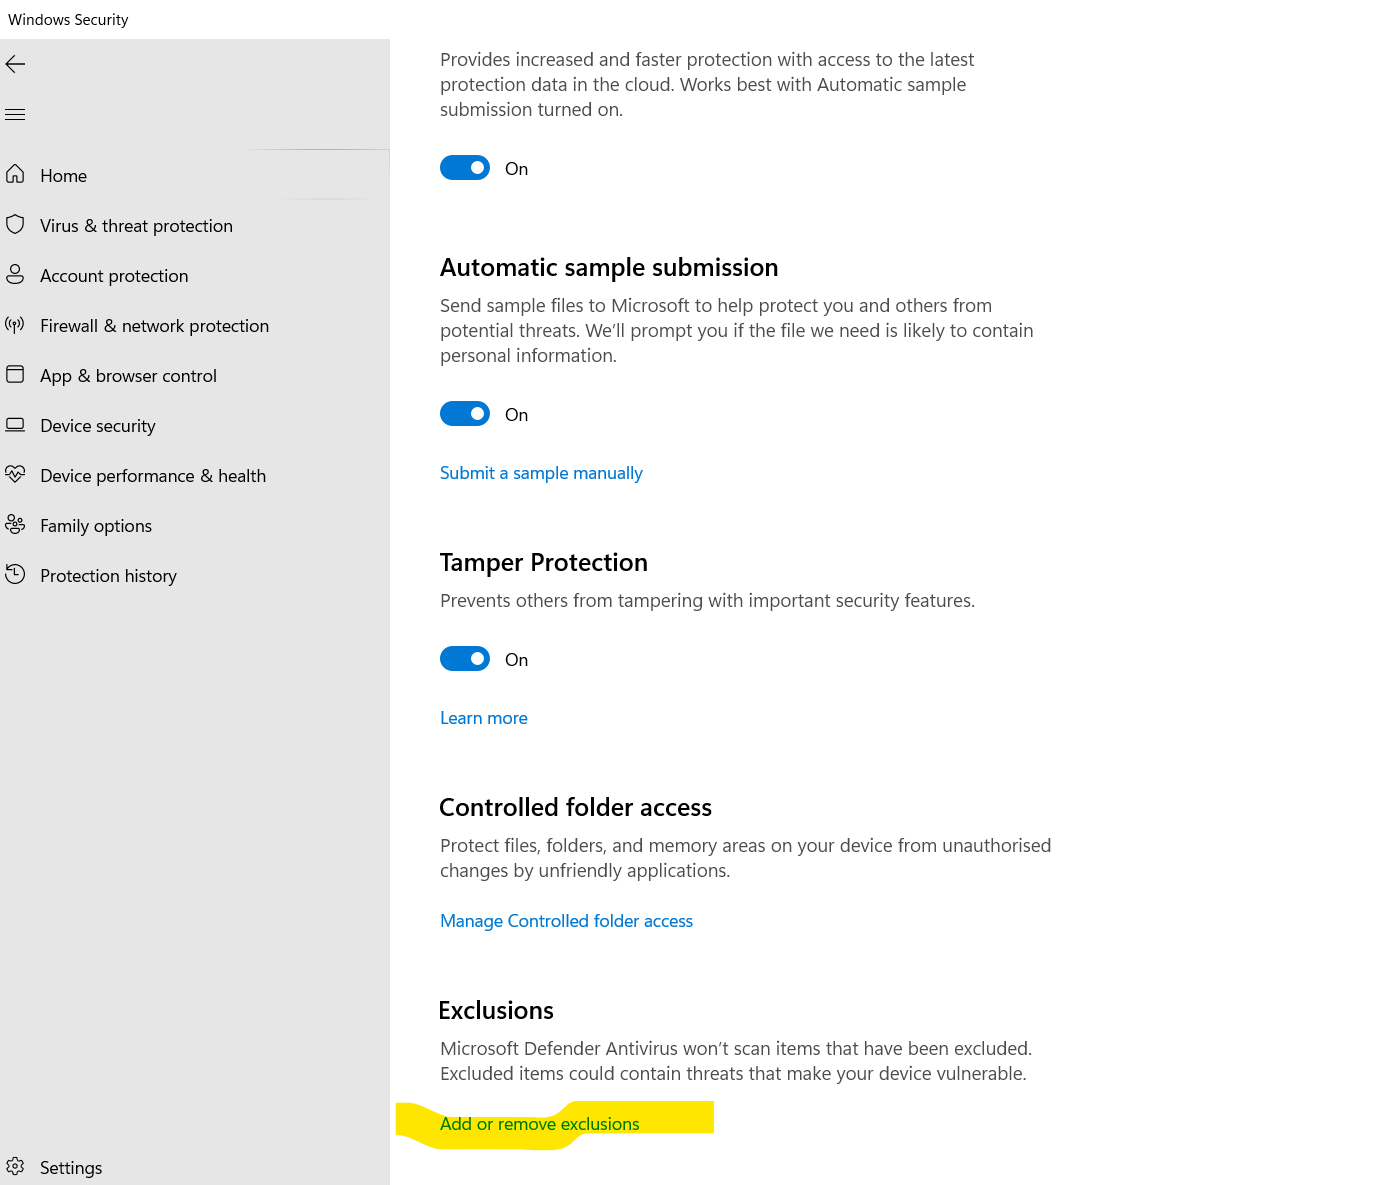
Once you click here you should get something like this:
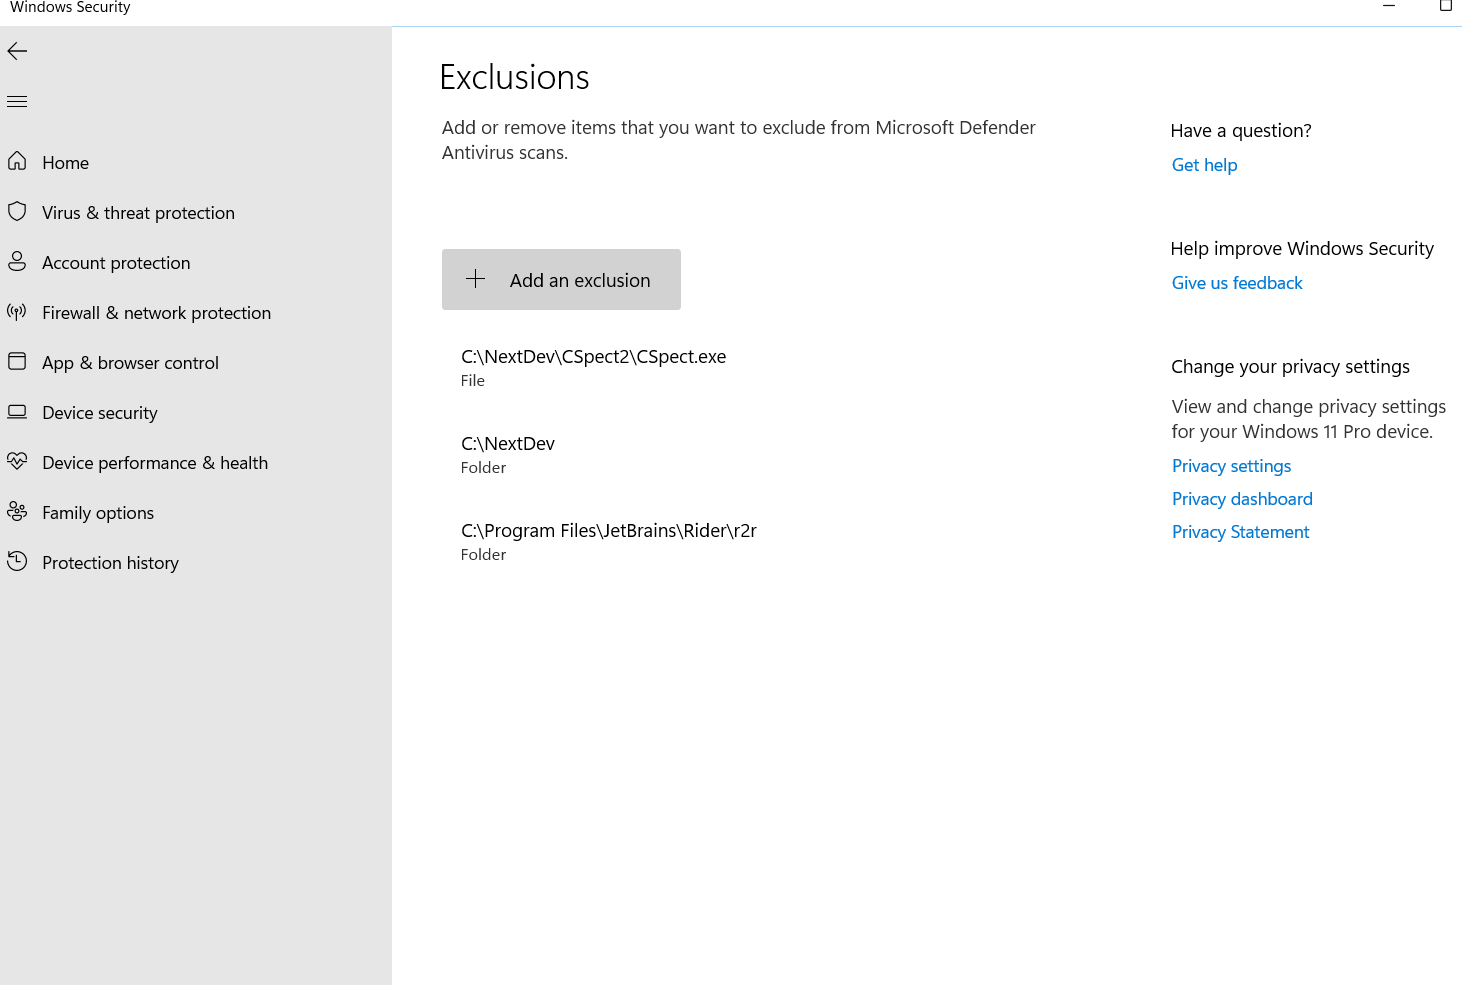
You can then set up your exclusion directory:
== General Tips ==
If your code needs the OS running, you can start CSpect or your next then inject your program after that. You might want to check current state before calling rom, but esxdos calls work from this state from my own experience. Thanks for reading through this. Please consider supporting the authors of these programs where possible!


